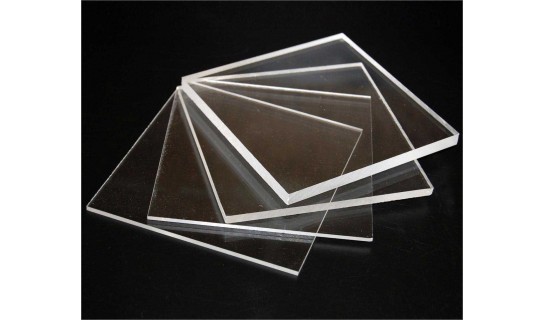
- One of the first decisions I made in the design of my mechanism was the link material. I chose acrylic because it can be quickly cut using the laser cutter, and I thought the smooth surface would create less friction than plywood or 3D printed parts. From there, I chose to use the ¼” thickness sheet, for increased stiffness.
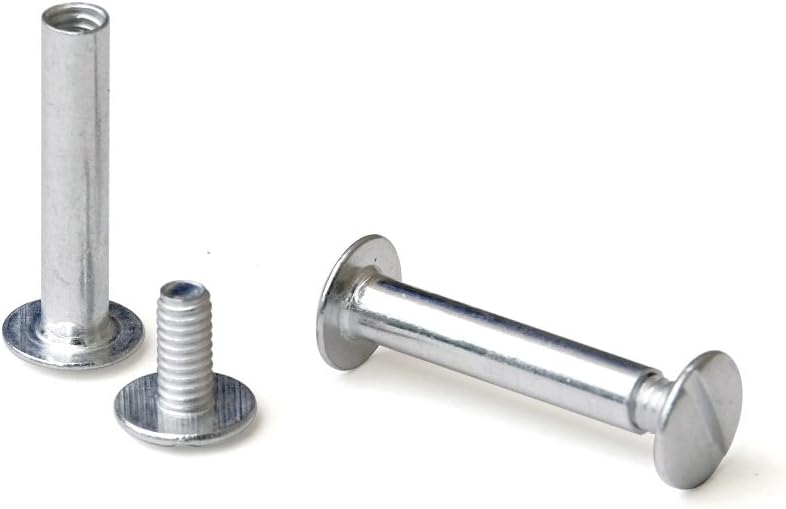
- For the joints themselves, I found some binding post screws at a local hardware store. I’m using ½” thick screws which fit two pieces of acrylic nicely. Sizing of the holes in the links took a few iterations with the laser cutter, but ultimately I found that a 5.1mm diameter created a secure but low-friction fit, and a 5.0mm diameter created a press fit that would limit rotation.
- I chose the size of the links themselves based mostly on aesthetics. I wanted a device that would be an easy size to handle: not too small and fragile, and not too big and unwieldy. My goal was about 12” wide and I’m close to that mark.
- Finally, I chose a ¼” piece of plywood as my grounding element. I thought this would provide a nice frame mechanically and visually. Ultimately, the motor will be bolted to the wood.
| View file | ||||
|---|---|---|---|---|
|
Video of my initial design in PMKS simulation software.
...

