...
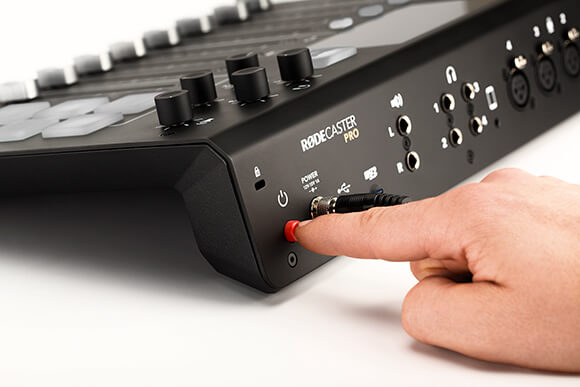
| Locate the Power button on the rear of the RODECaster and press in once to turn it on. | |
If you are recording internally to the SD Card, it is recommended to format it with each use for the best performance and space.
| |
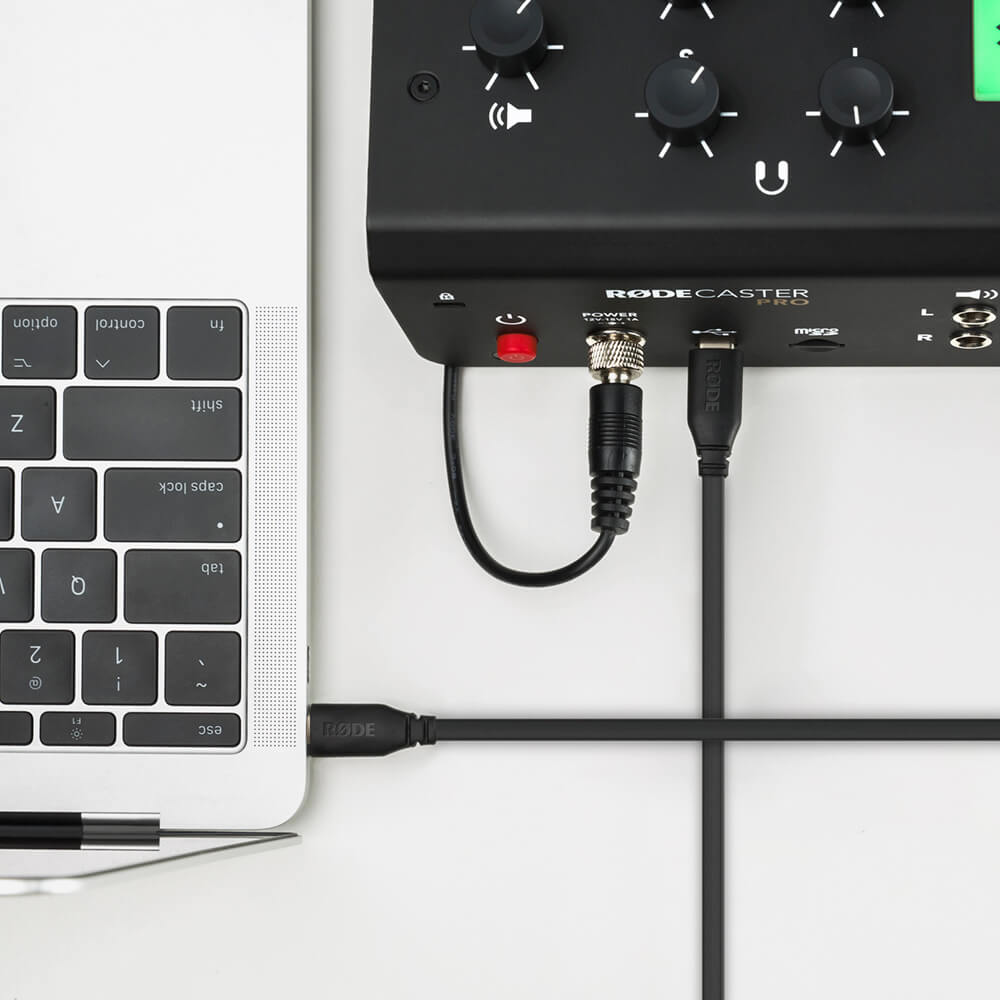
If you are using the RODECaster with your computer to record in a DAW, such as Pro Tools or Audition or plan to playback audio from your computer to the RODECaster, make sure the USB cable is connected between the RODECaster and the computer. | |
How would you like your audio recorded? Stereo vs Multitrack
Multitrack on the other hand records each source to a separate track, providing you with 14 tracks in total (Main out, USB, Phone, BT, and SFX are split into left and right channels) for the ultimate control in post editing and touch up. Keep in mind, this type of recording may not work very well if the end recipient's device does not auto mix them into stereo, so it is suggested to edit multitrack after recording and create your own stereo version. To set which version you would like:
| |
Next Check to see if audio processing noise gate is turned on Press the mic you want to use in this case #1 | |
Then click on Audio Processing | |
Make sure Noise Gate is set to OFF as shown here. That will help with audio cutting in and out | |
Do you plan to playback any audio from your computer? Go into the computer's speaker / microphone settings and make sure Speakers is set to RODECaster Pro Stereo. This will forward any sounds you play to the USB input on the RODECaster. | |
Do you plan to use the RODECaster Pro as a Mic input for the computer? Go into the computer's speaker / microphone settings and make sure Mic Input is set to RODECaster Pro Stereo. This will take the Main Left / Right output of the RODECaster as your computer Mic. | |
If you will be playing audio from the computer while also using it as a computer mic, make sure USB Mix-minus is enabled.
|
...


