How to Manually Move the Robot Arm Using the Teach Pendant
The simplest way to control the KUKA robot arms is by manually moving them. In the CNC world, this is called jogging the machine.
- Turn on the machine. You do not have to necessarily be signed in as the administrator to jog the arm.
- There are two paddles on the back side of the teach pendant that must be pressed partially to activate the motors and enable the robot to move. These are safety features, and if they are pressed all the way or not pressed at all, the robot will not move.
- You only need to press one paddle in at a time
- Once a paddle is depressed, you can use the 6-axis joystick to move the end of the arms.
- You can change the jog speed by pressing the icon at the top of the screen with a play button and a hand (see image)
- The window that pops open allows you to control the program speed and the jog speed. You can change the jog speed here.
- There are two ways to control the arm when jogging. The 6-axis joystick can move the arm in several axis at once and can feel very natural when you get the hang of it. You can also move the robot in a single axis via the + / - buttons on the right side of the teach pendant.
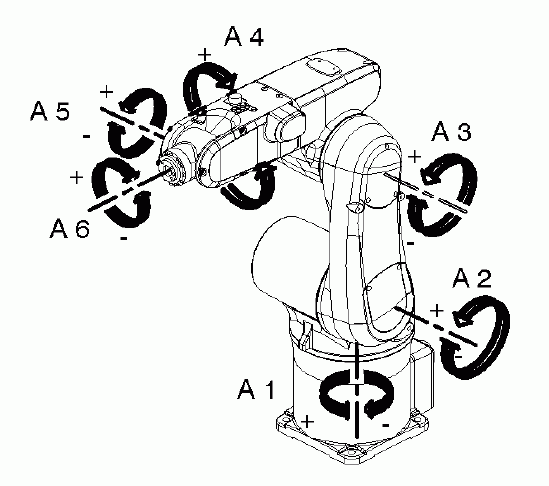
- There are a few different jogging modes. These can be selected by pressing the globe icon on the right side of the screen. The two main options you will use are axis and world. Axis will move the robot relative to its 6 axis (essentially rotating each joint independantly). World is a bit more intuitive and moves the robot in the XYZ plane of the room.
- If you want to see the actual position of the robot in Cartesian space as you jog, press the menu button (robot in the top left corner), "Display", and "Actual Position"


Welcome to the University Wiki Service! Please use your IID (yourEID@eid.utexas.edu) when prompted for your email address during login or click here to enter your EID. If you are experiencing any issues loading content on pages, please try these steps to clear your browser cache.